Easy Soap Making Recipes and Tips: A Relaxing and Satisfying Hobby for Beginners
"
In this article, we’ll guide you through the basics of soap-making for beginners, from the ingredients and methods to the recipes that will help you get started on your own soap-making journey.
By the end of this article, you will learn about:
- Soap recipes for beginners, including lavender soap, peppermint eucalyptus soap, and honey soap.
- Common ingredients needed for making soap at home.
- Different soap making methods are available to you.
Let's dive right in..
Check this out
Have you ever stopped to wonder how people kept themselves clean before the days of modern soap? The answer may surprise you: for thousands of years, humans have been making soap using natural ingredients in the environment around them.
From the ancient Babylonians who mixed fats with ashes to create a primitive form of soap, to the luxurious soaps favored by the Romans, soap has played a crucial role in human hygiene and wellbeing throughout history.
And now, with the rise of natural living and DIY culture, soap-making has once again become a popular hobby for people worldwide. Making your own soap at home allows you to control the ingredients and tailor the final product to your preferences.
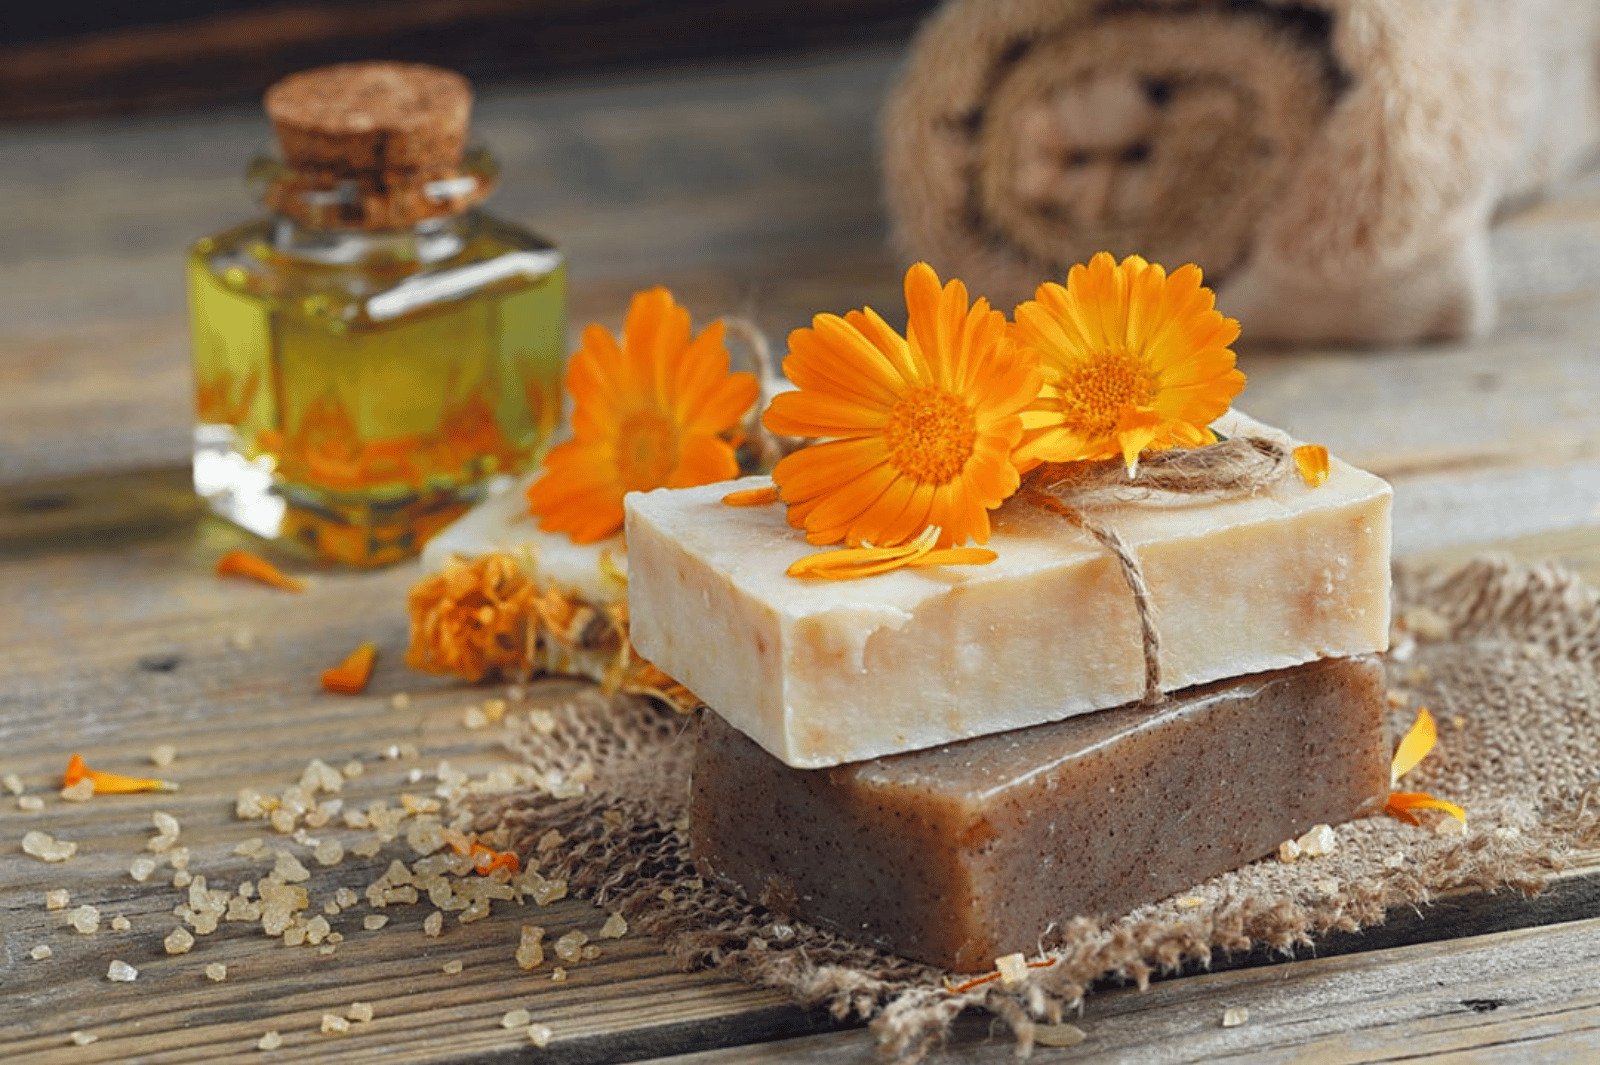
But soap making isn’t just about creating a suitable product. It’s also a creative outlet that can be incredibly satisfying and therapeutic. Mixing ingredients and watching them transform into beautiful bars of soap is a meditative and calming experience that can help reduce stress and promote mindfulness.
In India, soap-making has been a traditional craft for centuries. Some of the key players in the soap-making industry in India include Godrej, Unilever, and Wipro. These companies have been producing soaps for decades and have established themselves as trusted brands in the Indian market. In recent years, there has been a surge in demand for natural and organic soaps, leading to the rise of new players such as Mama Earth, Kama Ayurveda, Forest Essentials, and Soulflower. Which focuses on using natural and toxin-free ingredients in their products. These brands cater to the growing awareness of consumers towards healthy and sustainable living.
So whether you’re a history buff, a DIY enthusiast, or someone who wants to explore a new hobby, soap-making is a wonderful way to connect with the past, express your creativity, and promote mental wellness.

Ingredients You’ll Need for Making Soap
Let’s dive right in
Making your own soap at home can be a fun and rewarding experience, but it does require a few key ingredients and tools to get started. Here are some of the essential ingredients you’ll need:
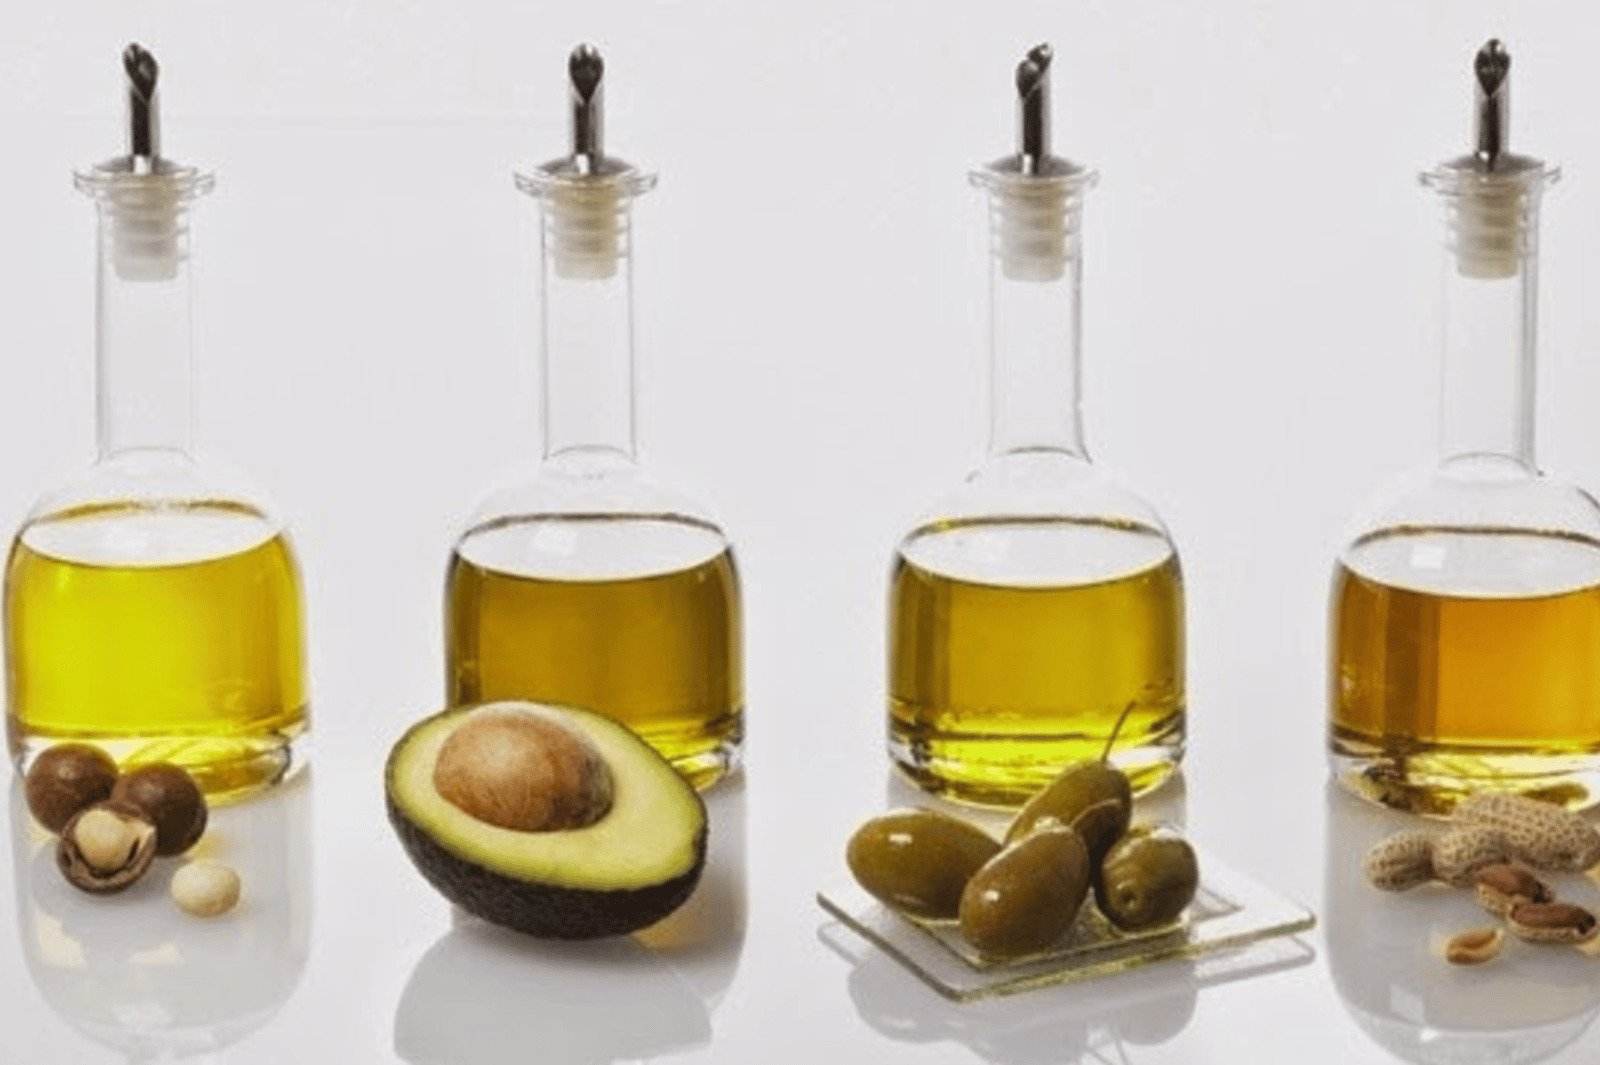
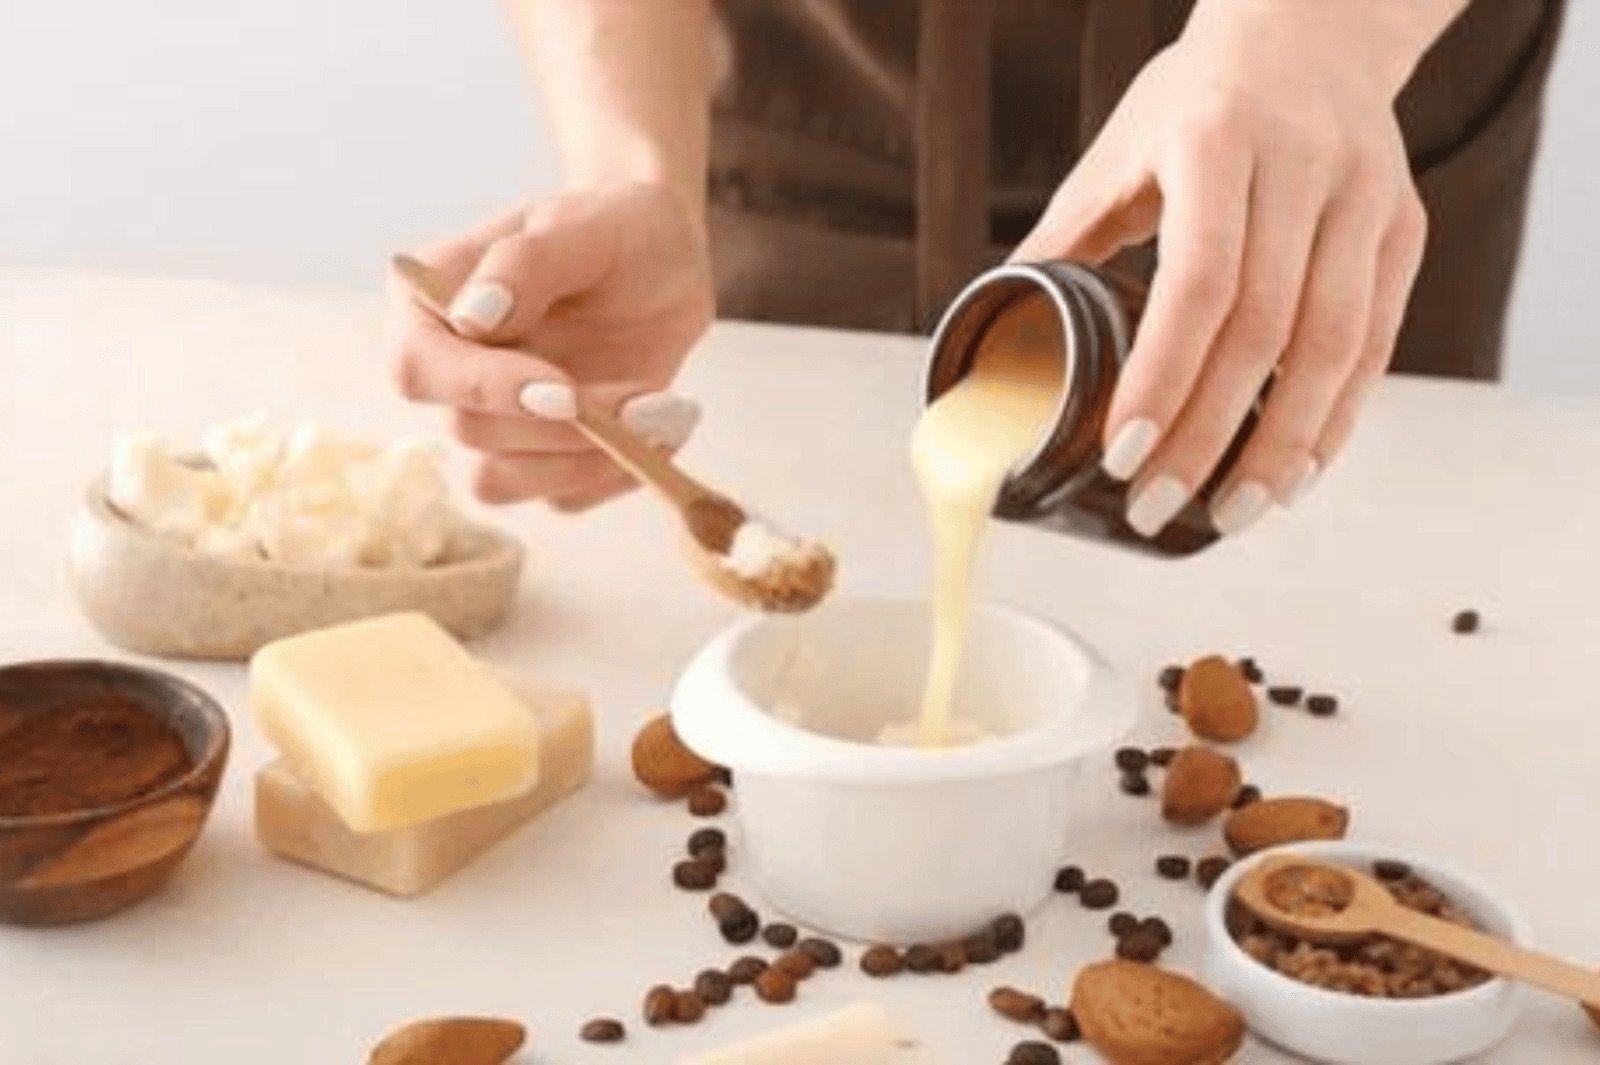
1. Base oils and butter
The base oils and butter you choose will determine the final properties of your soap, such as lather, hardness, and moisturizing abilities. Some popular oils include coconut, olive, and palm, while famous butter contains shea and cocoa. It’s important to choose oils and butter that are high-quality and sustainable, as well as ones that suit your skin type and preferences.

2. Lye
Lye is an essential ingredient in soap making, as it reacts with the oils to create soap through saponification. Handling lye carefully and wearing protective gear is crucial, as it is an acidic substance that can cause burns if not used properly.

3. Essential and fragrance oils
Adding essential oils and fragrance oils to your soap can enhance the scent and provide therapeutic benefits to your skin. Essential oils are derived from plants, while fragrance oils are synthetic. Choosing high-quality oils that are safe for soap-making and suit your preferences is vital.
4. Herbs, additives, and colorants
Adding natural ingredients like herbs, oatmeal, and honey can provide texture and skin-nourishing properties to your soap. Additionally, you can use colorants like natural clays, micas, and synthetic dyes to give your soap a unique look.

5. Equipment and tools
You’ll need essential equipment and tools to make soap at home, including a digital scale, thermometer, stick blender, and molds. Having these tools on hand is necessary before you start making soap.
When choosing ingredients for your soap-making recipes, consider your values and preferences. You can find many of these ingredients online or at your local health food store. By using high-quality and sustainable ingredients, you’ll create a soap that’s good for your skin and the environment.
Did you know?
There are 3 Different Soap-Making Methods
Let’s make it simple for you!
There are several soap-making methods, each with unique advantages and disadvantages. The most popular ways for beginners are the melted and pour cold process and the hot cycle.
1. Melt and Pour Soap Making
Melt-and-pour soap making is the easiest and most beginner-friendly method. As the name suggests, it involves melting a premade soap base and adding essential oils and colorants. This method doesn’t require lye or any complex equipment, making it a great way to experiment with soap making.
2. Cold Process Soap Making
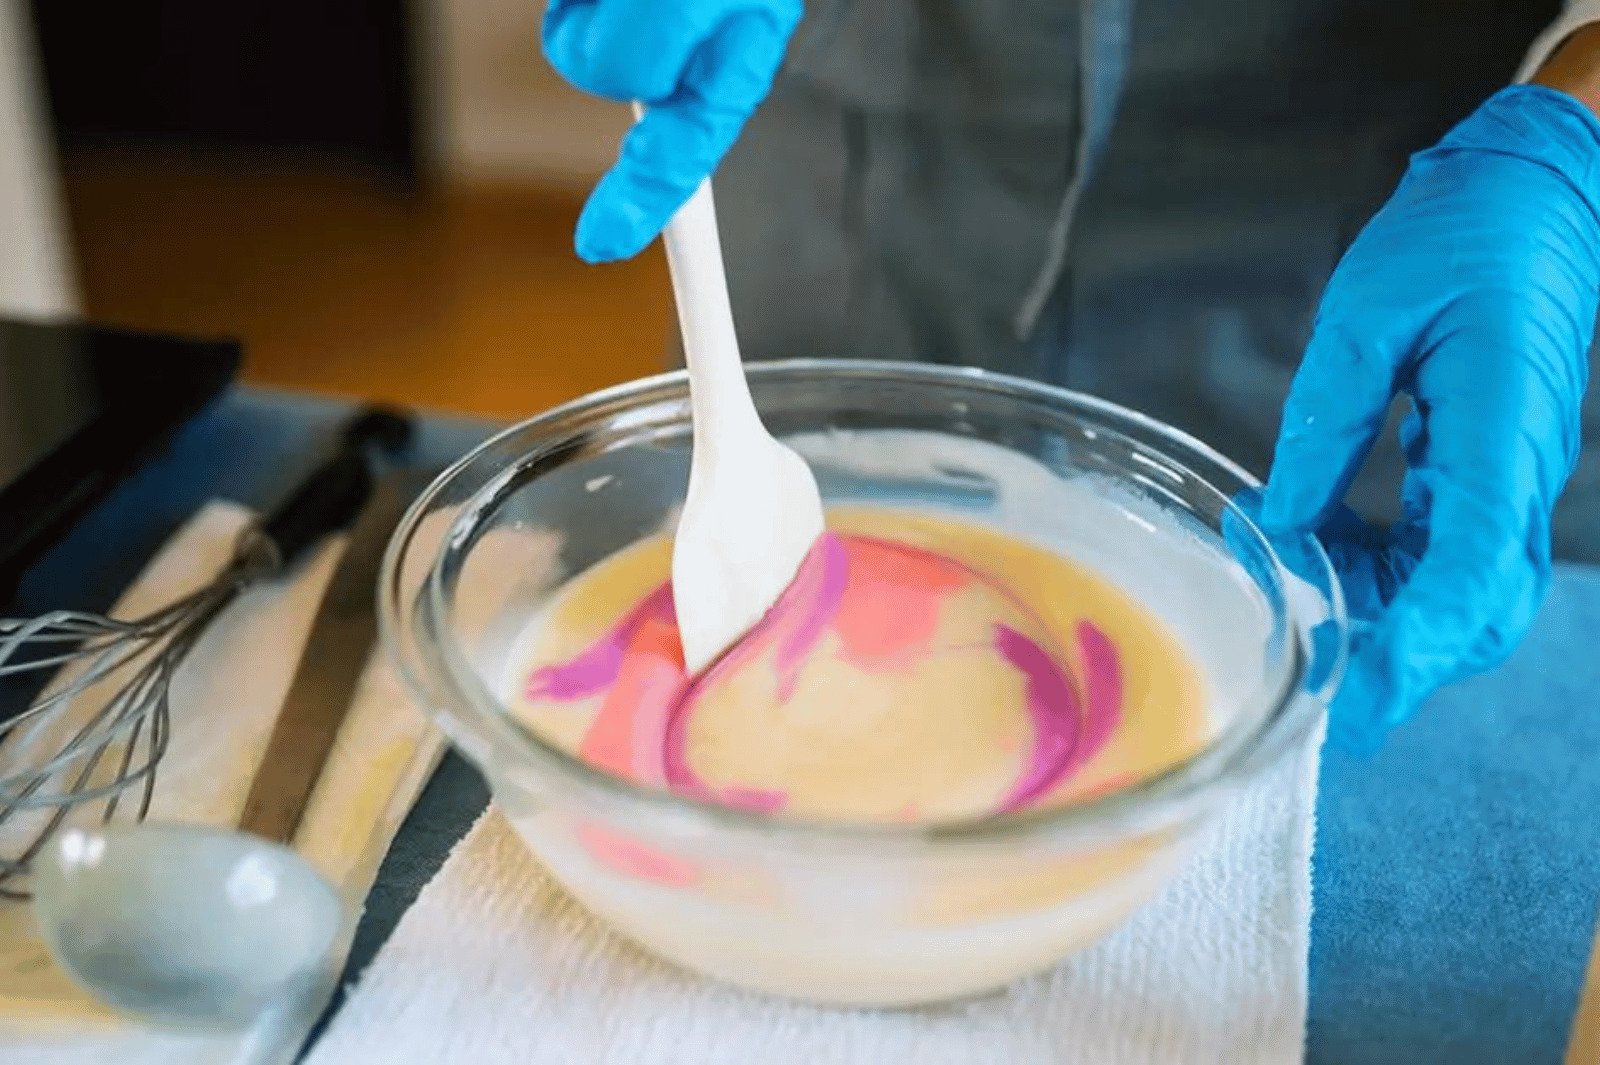
Cold-process soapmaking involves mixing oils and lye to create soap through the saponification. The “trace” refers to the point where the soap mixture thickens and resembles pudding. This is a crucial stage in cold process soapmaking because it indicates the saponification process is occurring. It requires more equipment and safety precautions than melt and pour but allows customization and control over the final product.
Once the soap reaches a trace, you can add fragrances, colorants, or other desired additives. The soap is then poured into a mold and left to cure for several weeks before it’s ready to use. Cold-process soap-making takes longer to heal and requires more patience, resulting in a high-quality, long-lasting soap bar.
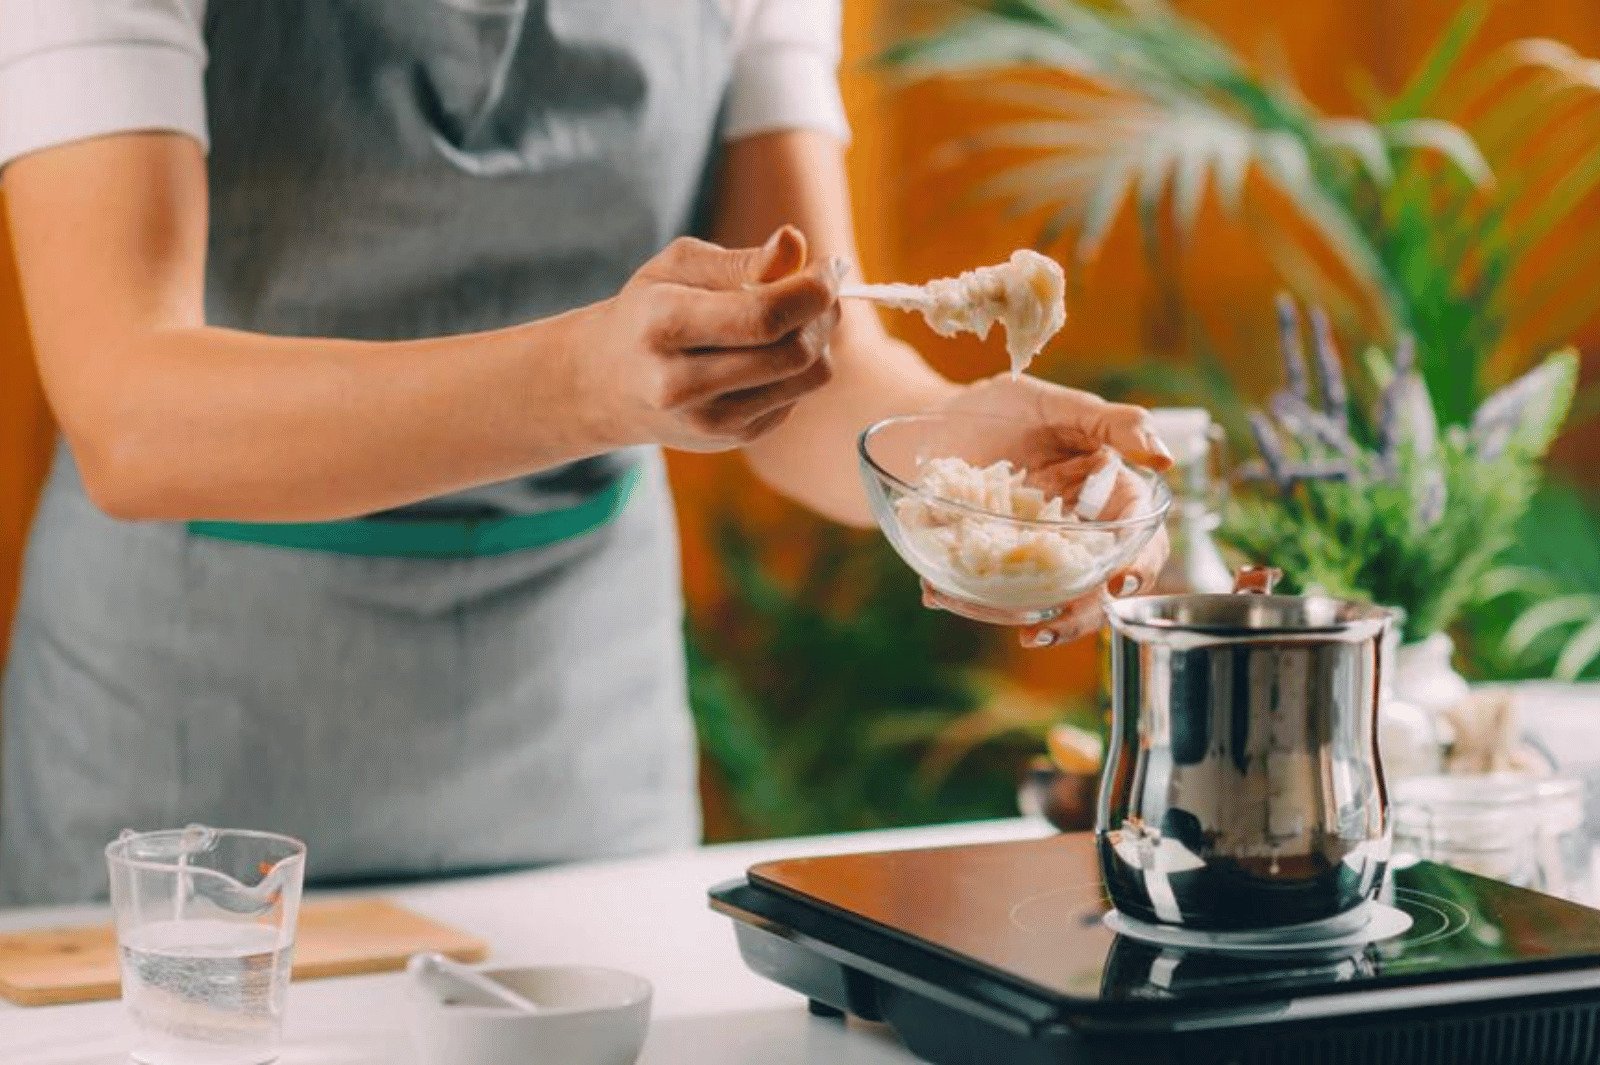
3. Hot Process Soap Making
Hot-process soap making is similar to cold but involves cooking the soap mixture in a crockpot or stove. This speeds up the saponification process and allows the soap to be used sooner. Hot process soap-making also produces a rustic, textured bar of soap with a more earthy scent.
You tube Url: How to Make Hot Process Soap – Step by Step
Each soap-making method has pros and cons, so choosing one that fits your needs and preferences is essential. As a beginner, starting with melt-and-pour or cold-process soap-making is recommended before moving on to the hot process. Once you’ve mastered the basics, you can start experimenting with different methods to create your own unique soap recipes.
Soap-Making Recipes for Beginners
Let me show you
If you’re new to soap making, starting with a basic recipe with simple ingredients is a good idea. Here are two recipes that are perfect for beginners:

- Basic Olive Oil Soap Recipe
This basic olive oil soap recipe is gentle and moisturizing, making it great for those with sensitive skin. Here are the ingredients and steps:
Ingredients:
- Soap recipes for beginners, including lavender soap, peppermint eucalyptus soap, and honey soap.
- Common ingredients needed for making soap at home.
- Different soap making methods are available to you.
Steps:
- In a well-ventilated area and wearing protective gear, slowly add lye to the water, stirring until dissolved.
- Heat olive oil to around 45°C (110°F) in a separate pot.
- Slowly pour the lye mixture into the olive oil, stirring continuously until the mixture reaches trace (when the mixture thickens enough to leave a trail).
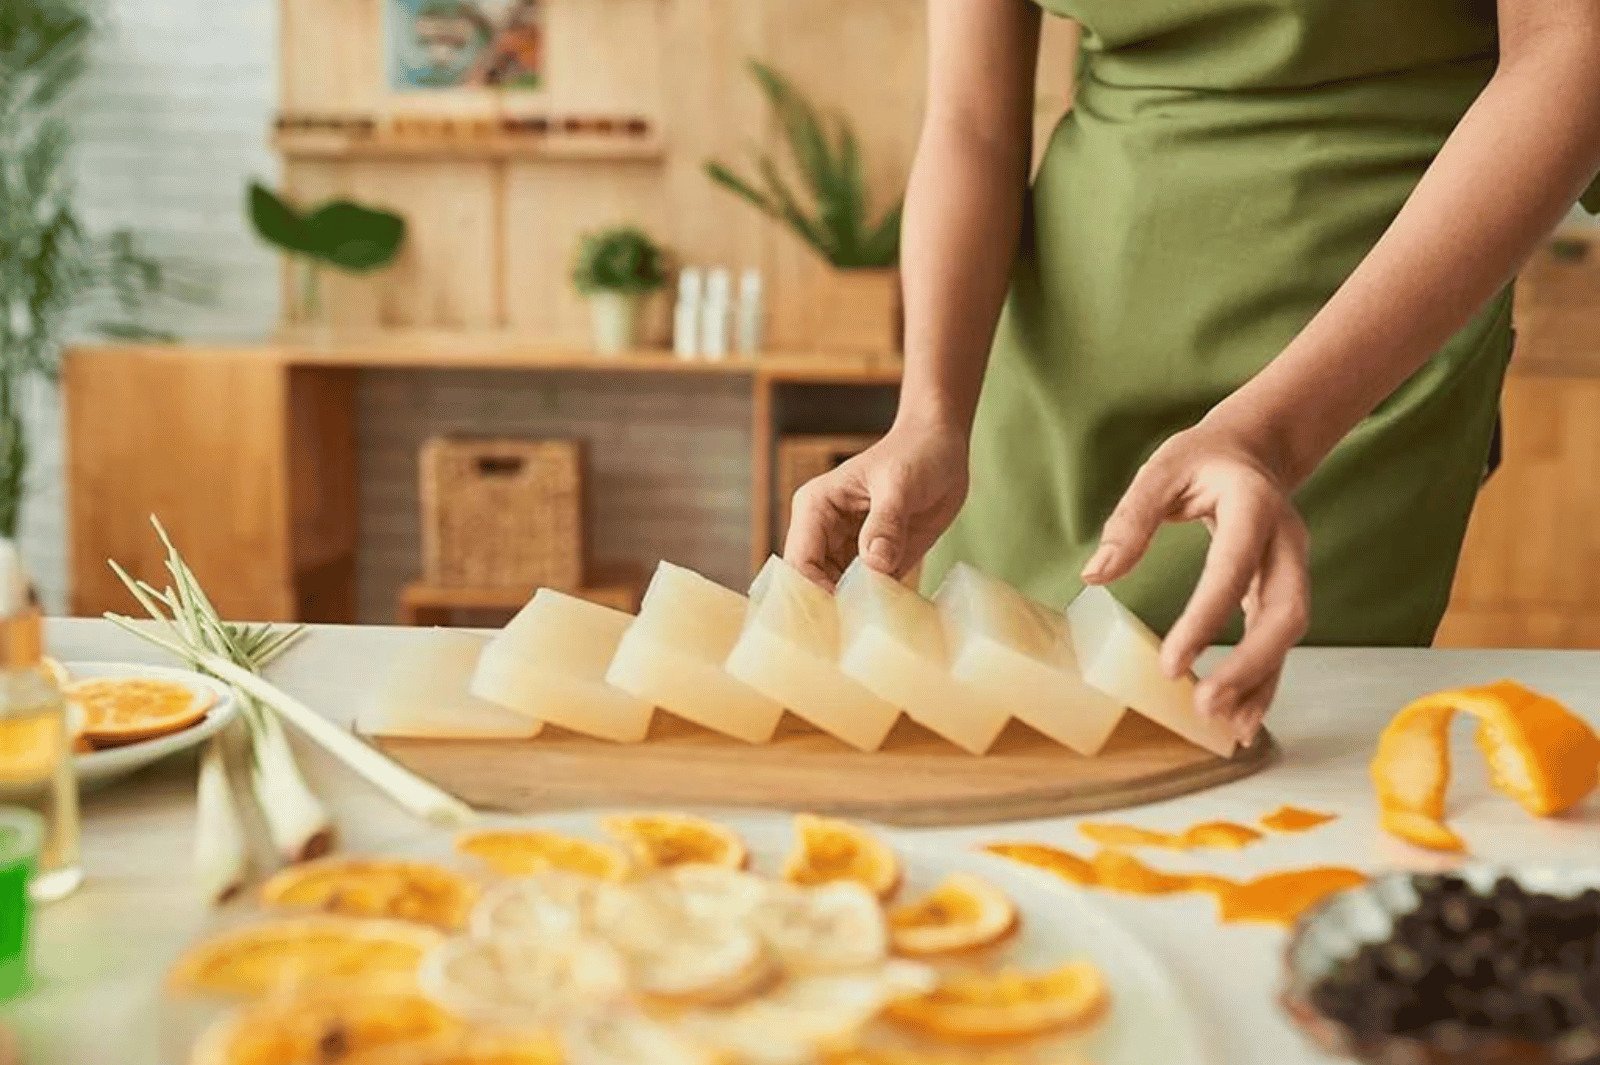
- Pour the mixture into a mold and let it sit for at least 24 hours before cutting into bars.
- Cure the soap for 4-6 weeks before using or giving it as a gift.
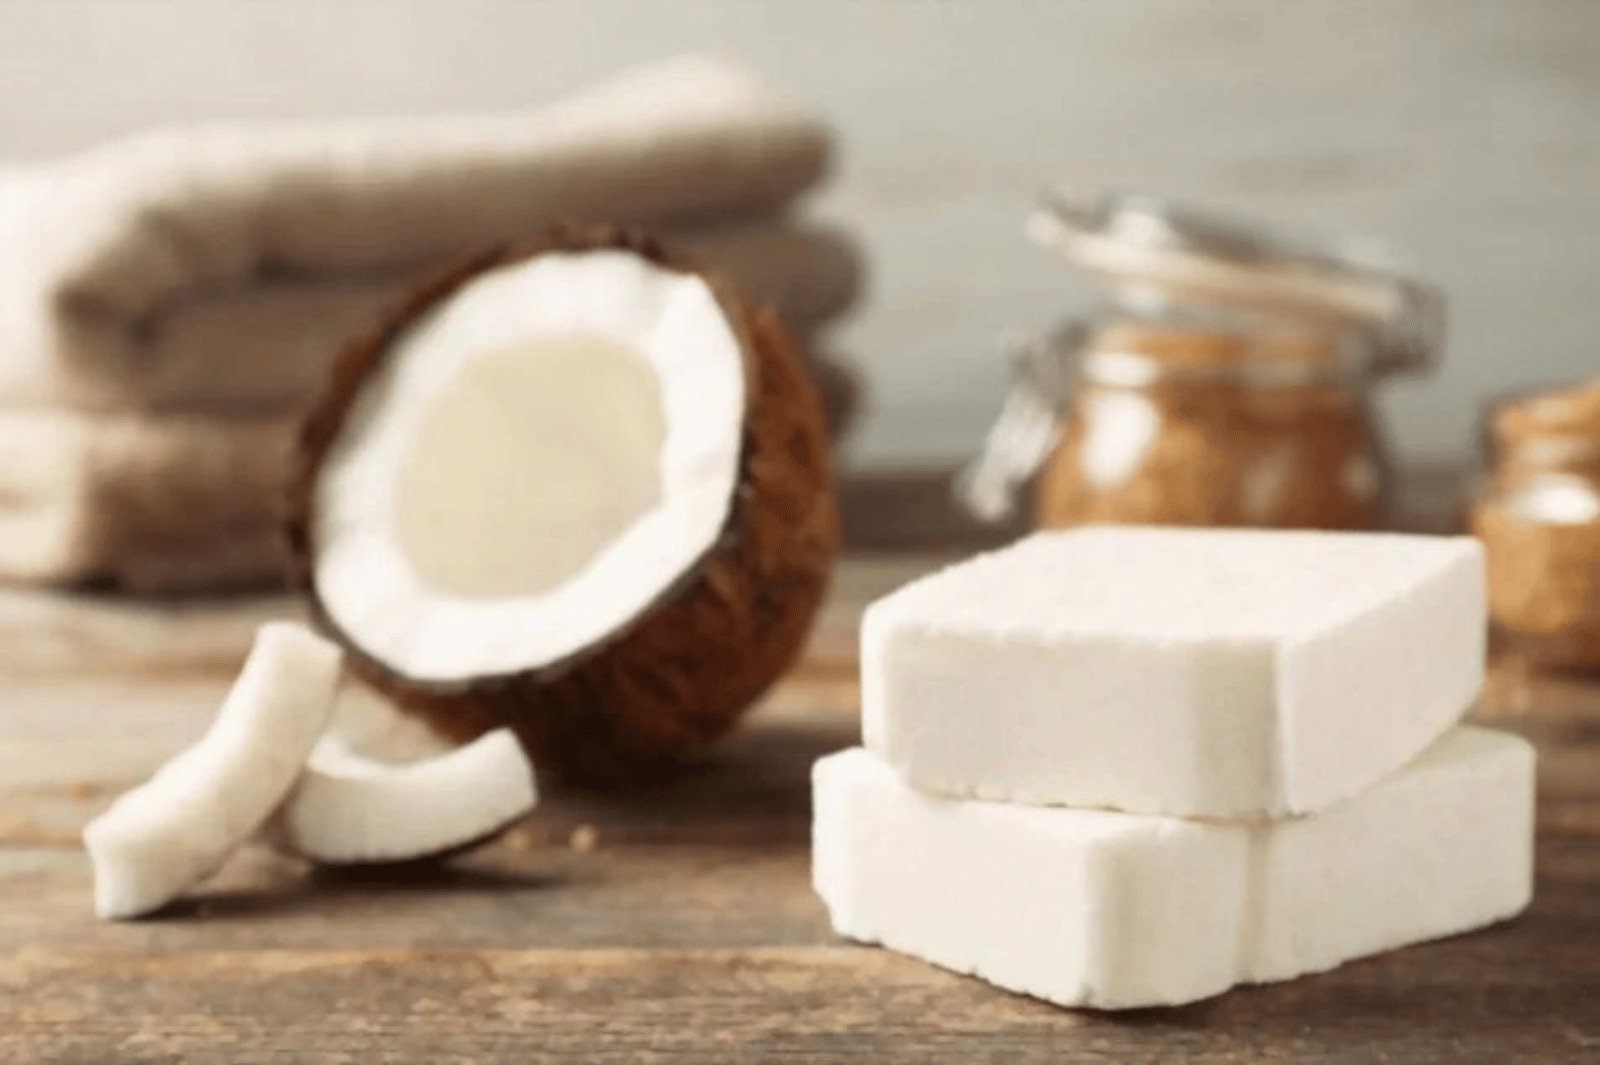
- Coconut Milk Soap Recipe
This creamy coconut milk soap recipe is great for those who love tropical scents and lathers. Here are the ingredients and steps:
Ingredients:
- 450g Coconut Oil
- 136g Lye (Sodium Hydroxide)
- 240 ml Coconut Milk
- Optional: Essential oils or fragrance oils for scent
Steps:
- In a well-ventilated area and wearing protective gear, slowly add lye to the water, stirring until dissolved.
- Heat olive oil to around 45°C (110°F) in a separate pot.
- Slowly pour the lye mixture into the olive oil, stirring continuously until the mixture reaches trace (when the mixture thickens enough to leave a trail).
- Pour the mixture into a mold and let it sit for at least 24 hours before cutting into bars.
- Cure the soap for 4-6 weeks before using or giving it as a gift.
These are just a few soap-making recipes for beginners to get you started. As you become more comfortable with the process, experiment with different ingredients and create your unique soap recipes.
6 Soap Recipes for Beginners to Master
You have to try this
Once you’ve understood how to make a bar of soap by making the two recipes above. You are ready to delve a little deeper. Here are some other soap-making recipes for beginners to try:
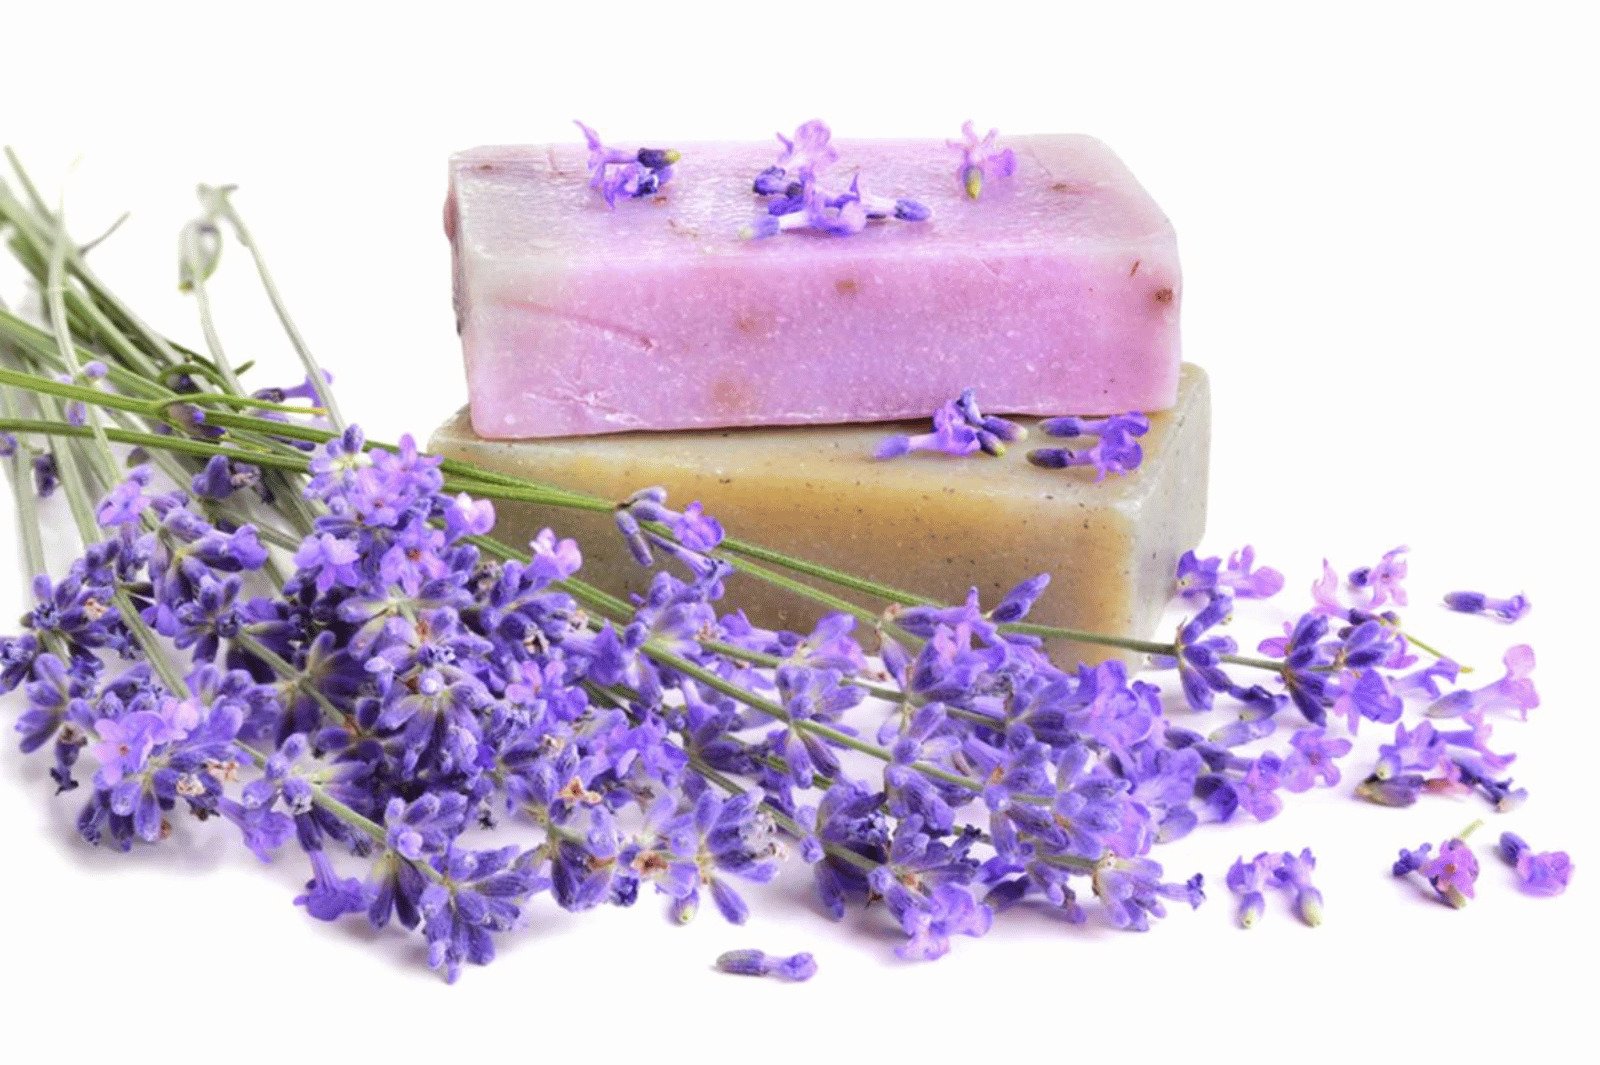
1. Lavender Soap Recipe
- 450 grams of coconut oil
- 225 grams of olive oil
- 225 grams shea butter
- 68 grams lye
- 170 ml water
- 2 tablespoons dried lavender buds
- 20-30 drops of lavender essential oil
This recipe creates a soothing and relaxing soap bar with a lovely lavender scent. Mix the lye and water together, then melt the coconut oil, olive oil, and shea butter. Once the oils have cooled slightly, add the lye mixture, dried lavender buds, and essential oil. Pour the mixture into a mold and let it cure for 4-6 weeks.
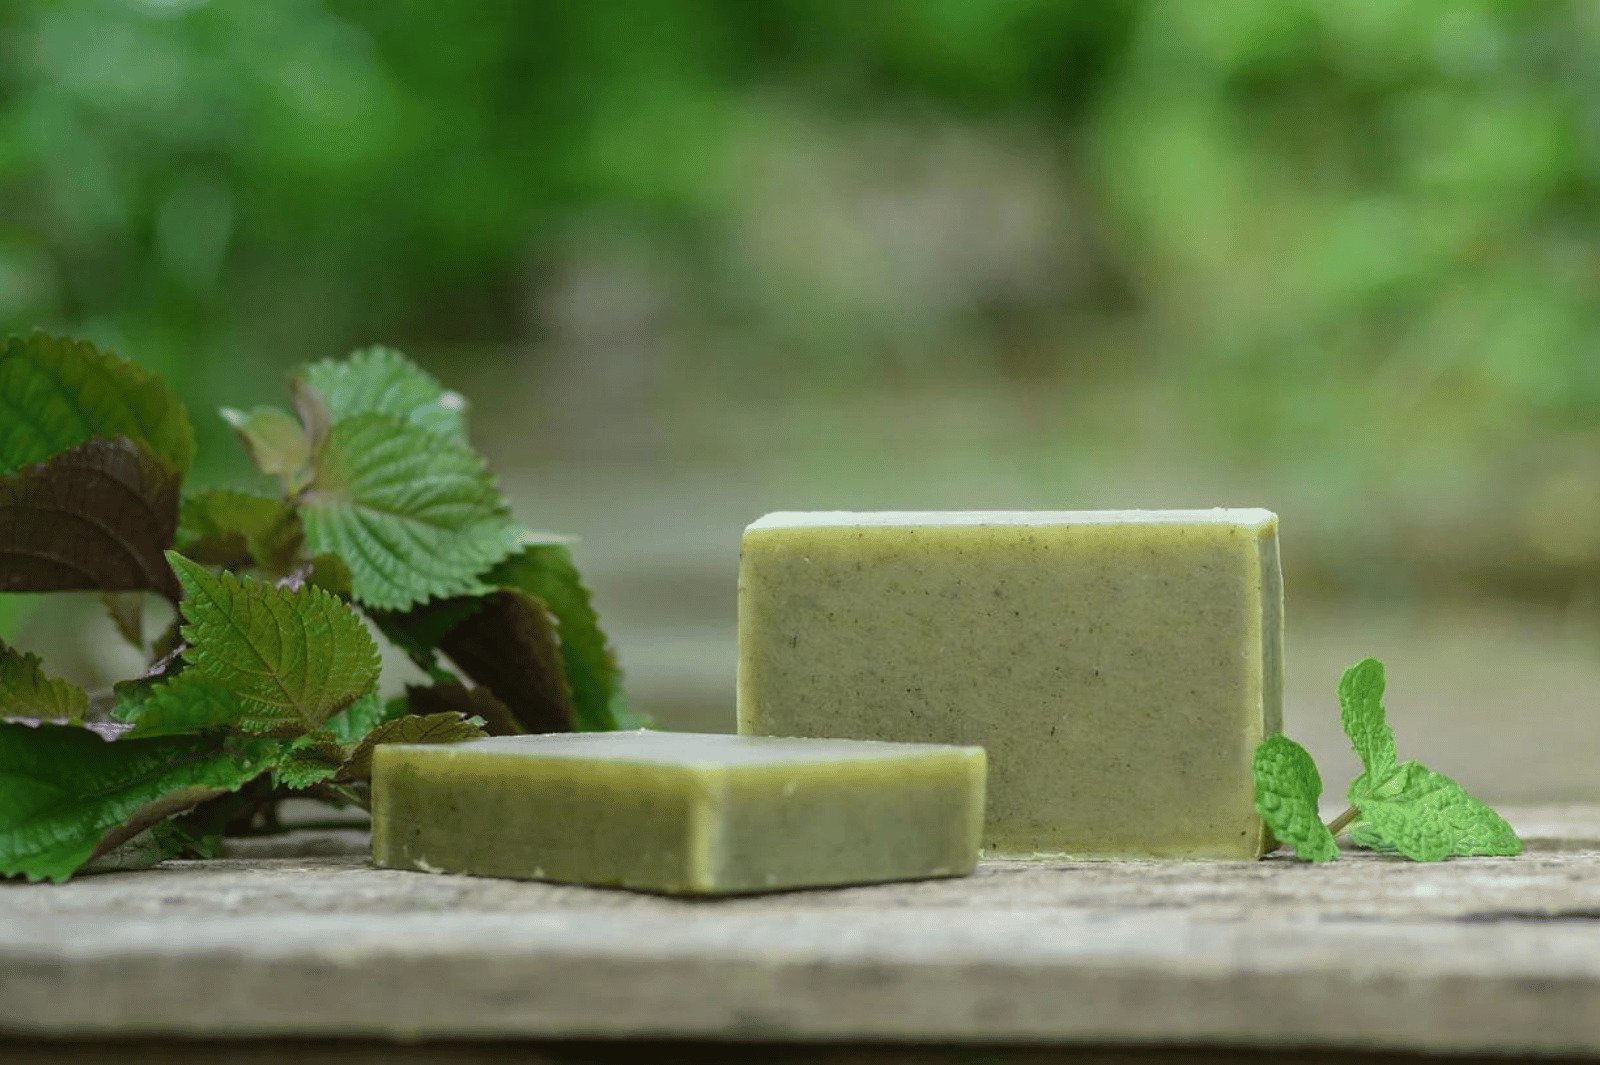
2. Peppermint Eucalyptus Soap Recipe
- 450 grams of olive oil
- 225 grams of coconut oil
- 225 grams shea butter
- 68 grams lye
- 170 ml water
- 20-30 drops of peppermint essential oil
- 20-30 drops of eucalyptus essential oil
This recipe creates a refreshing and invigorating soap bar with an incredible minty scent. Mix the lye and water together, then melt the olive oil, coconut oil, and shea butter. Once the oils have cooled slightly, add the lye mixture, peppermint essential oil, and eucalyptus essential oil. Pour the mixture into a mold and let it cure for 4-6 weeks.

3. Beer Soap Recipe
- 450 grams of coconut oil
- 225 grams of olive oil
- 225 grams shea butter
- 170 grams lye
- 340 ml beer
This recipe creates a unique and moisturizing soap bar with a rich lather. Heat the coconut, olive, and shea butter together, then mix the lye with the beer. Slowly add the lye mixture to the oils and blend until the mixture thickens. Pour the soap into a mold and let it cure for 4-6 weeks.
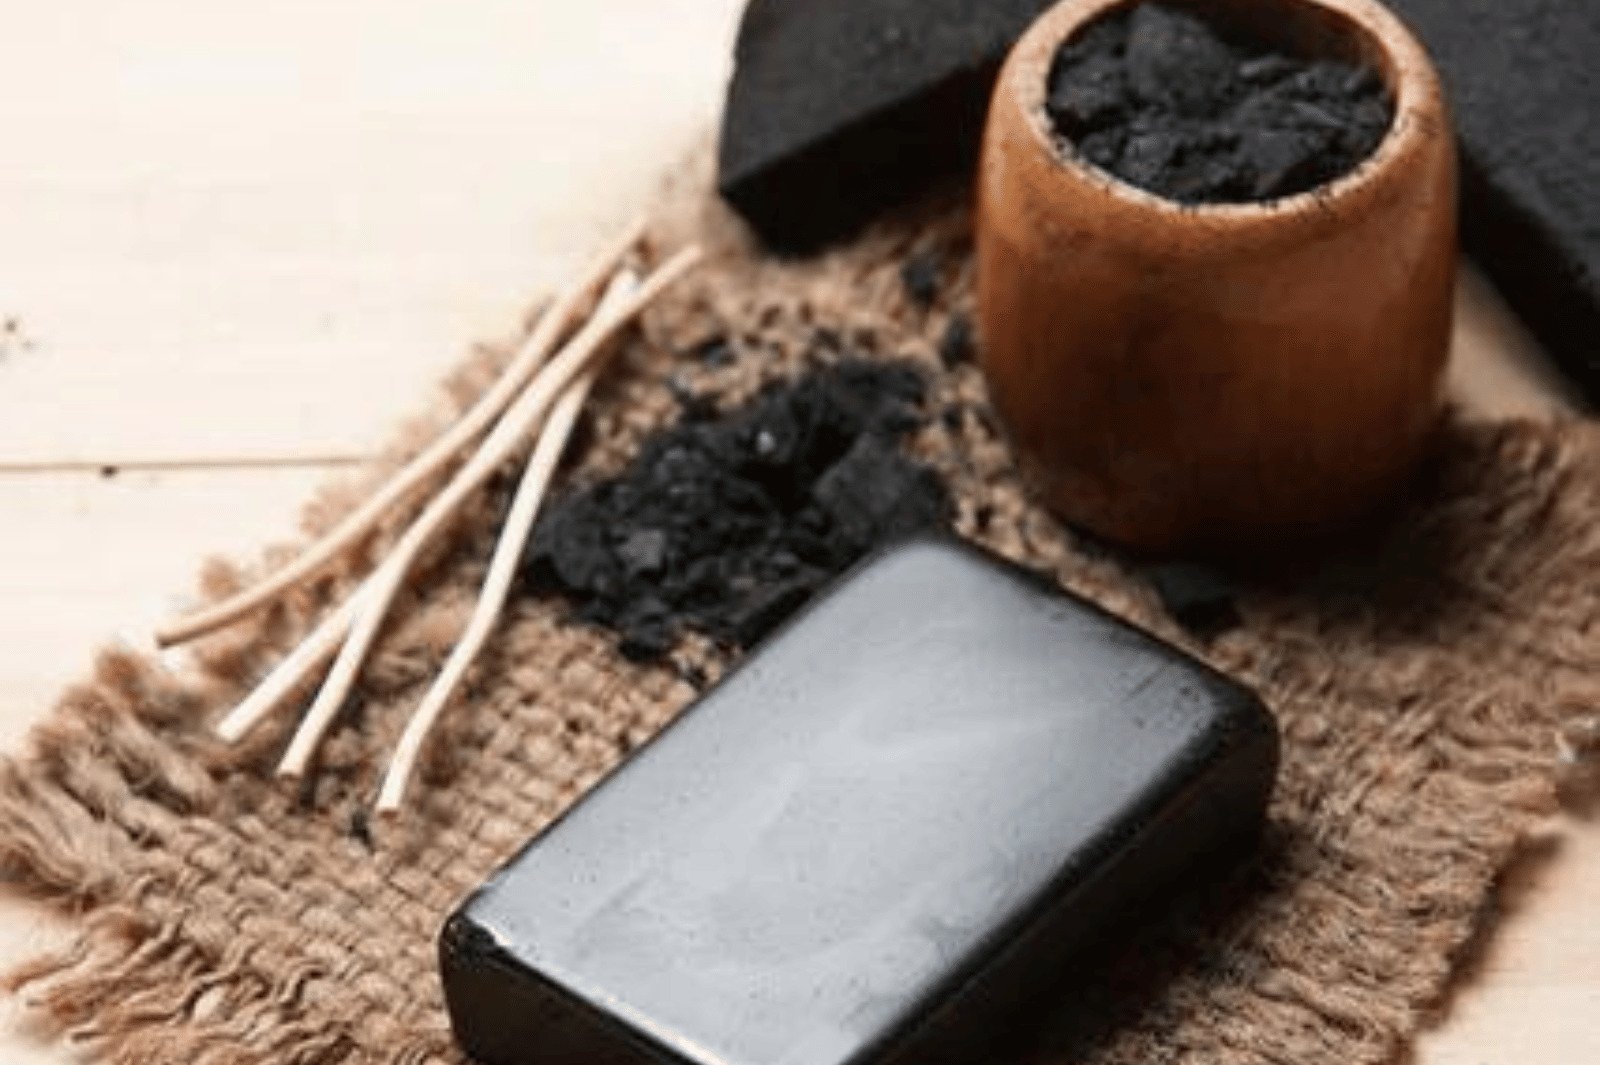
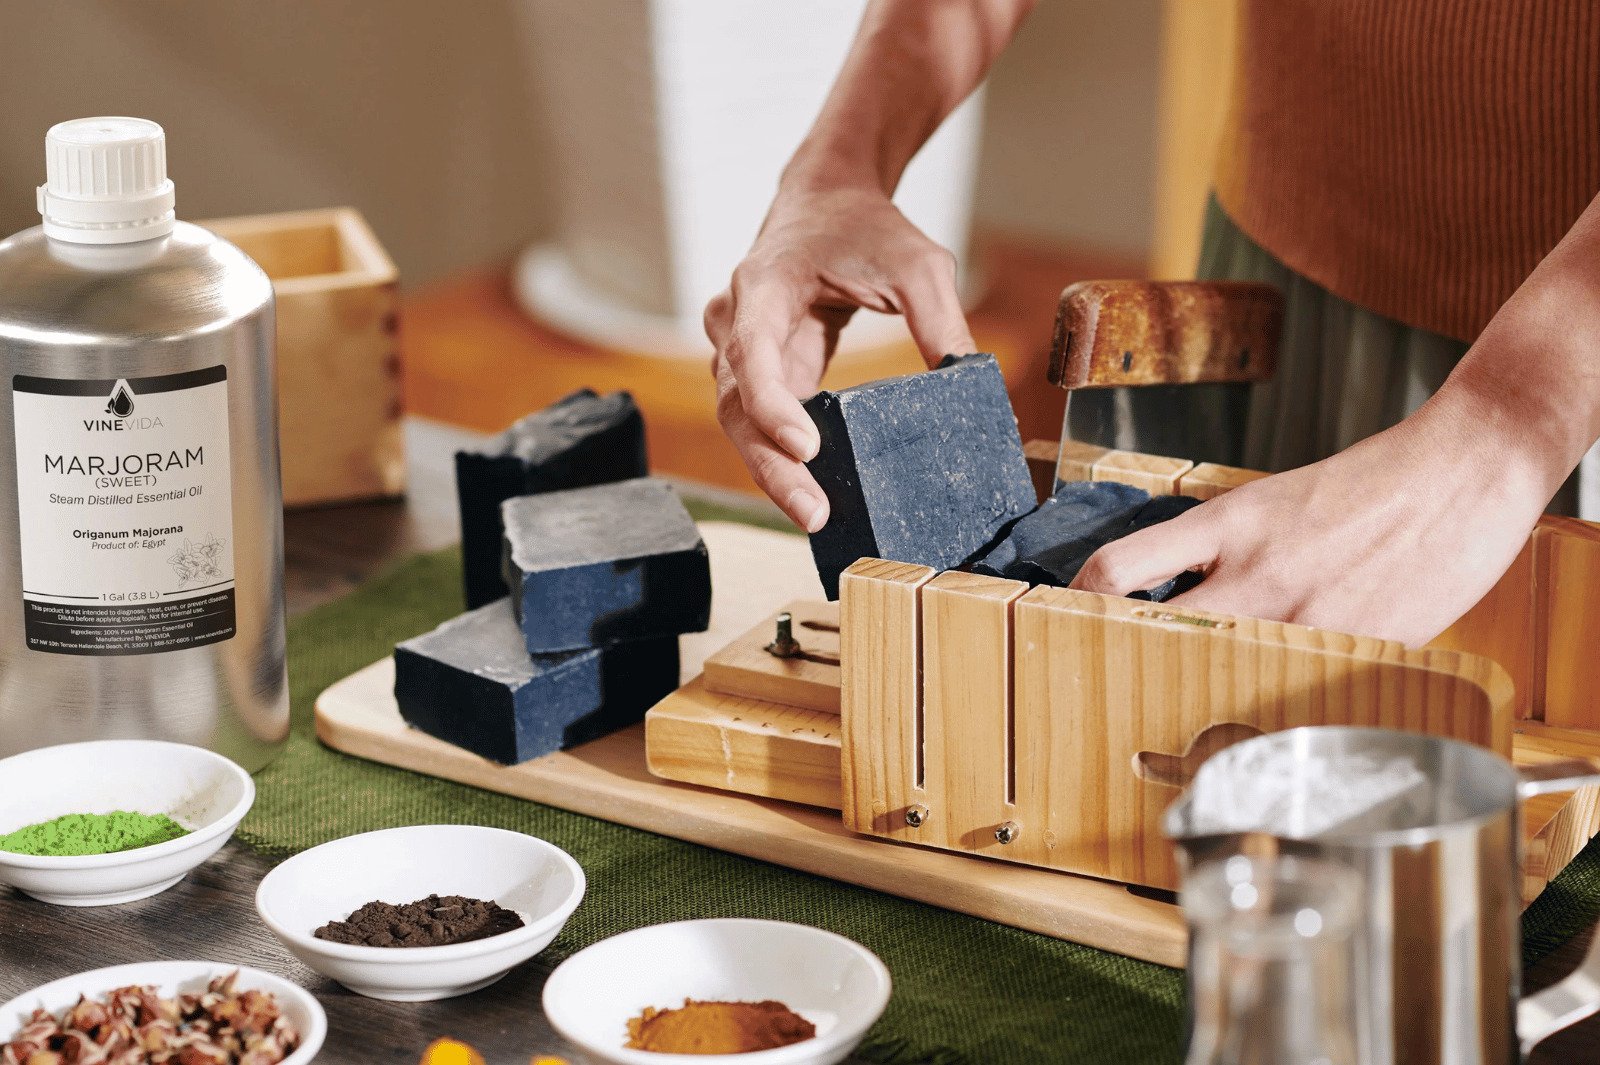
4. Activated Charcoal Facial Soap Recipe
- 450 grams of olive oil
- 225 grams of coconut oil
- 225 grams shea butter
- 68 grams lye
- 170 ml water
- 2 tablespoons activated charcoal powder
- 20-30 drops of tea tree essential oil
This recipe creates a gentle, detoxifying soap bar that is perfect for oily or acne-prone skin. Mix the lye and water together, then melt the olive oil, coconut oil, and shea butter. Once the oils have cooled slightly, add the lye mixture, activated charcoal powder, and tea tree essential oil. Pour the mixture into a mold and let it cure for 4-6 weeks.
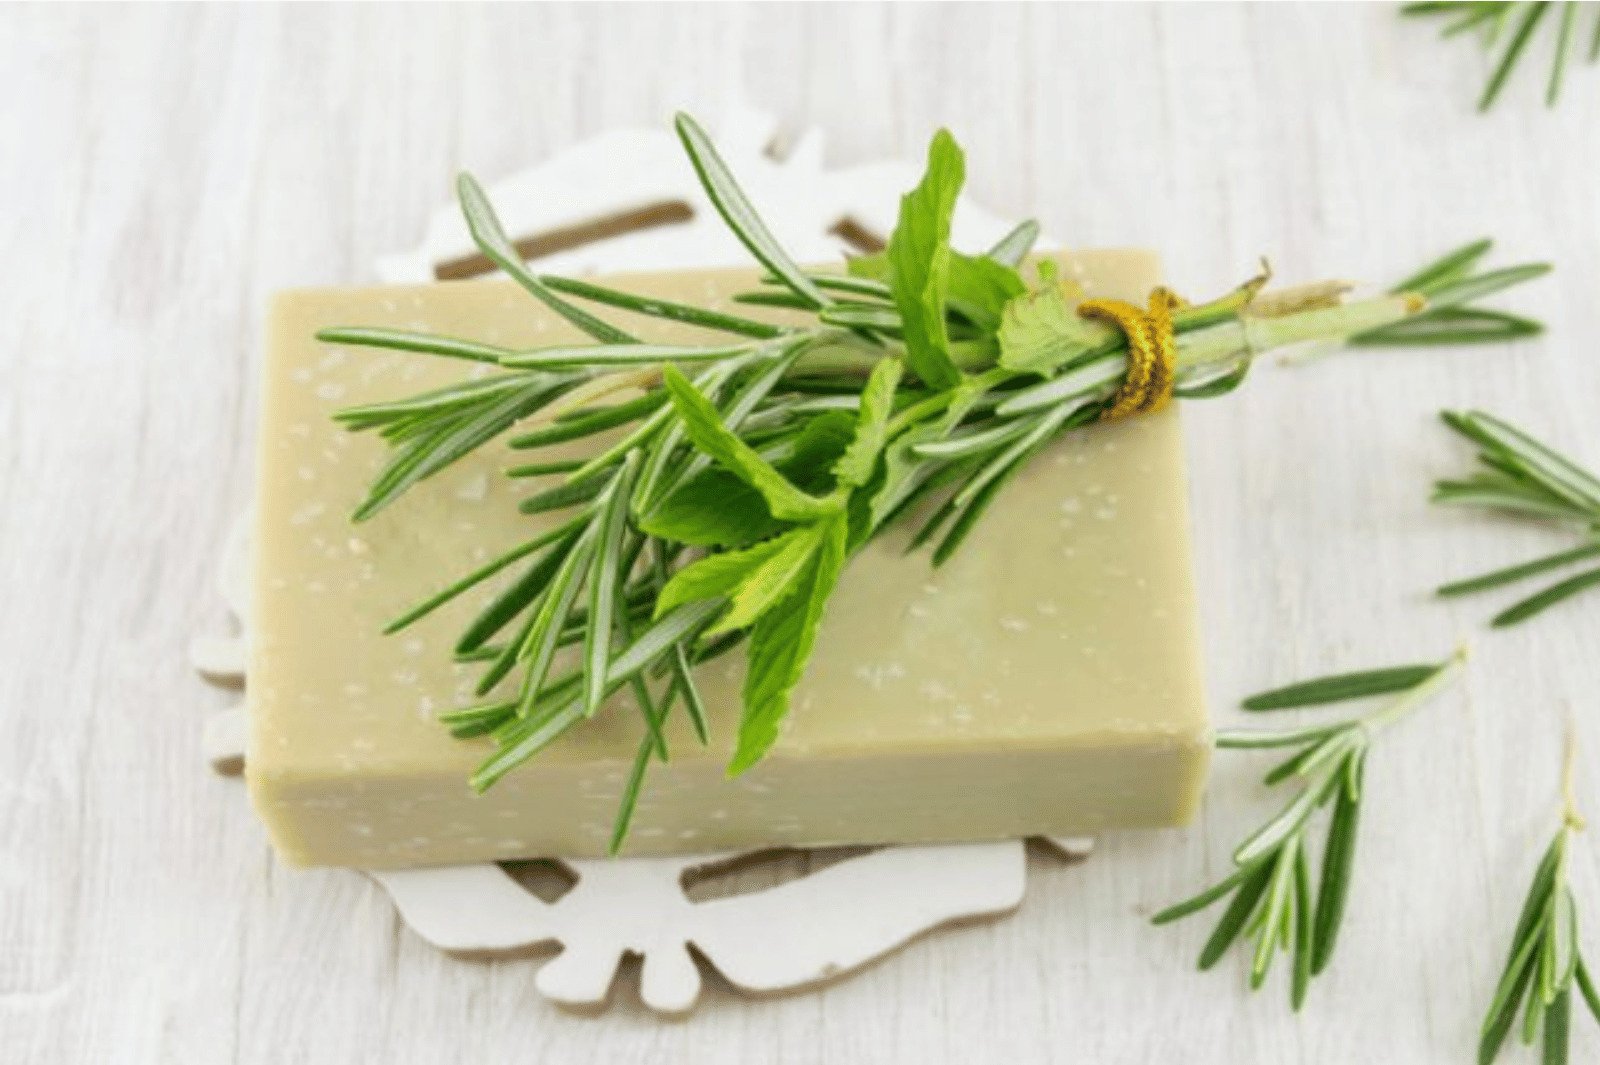
5. Rosemary Mint Soap Recipe
- 450 grams of coconut oil
- 225 grams of olive oil
- 225 grams shea butter
- 68 grams lye
- 170 ml water
- 20-30 drops of rosemary essential oil
- 20-30 drops of peppermint essential oil
This recipe creates an uplifting and refreshing soap bar with a herbal scent. Mix the lye and water together, then melt the coconut oil, olive oil, and shea butter. Once the oils have cooled slightly, add the lye mixture, rosemary essential oil, and peppermint essential oil. Pour the mixture into a mold and let it cure for 4-6 weeks.
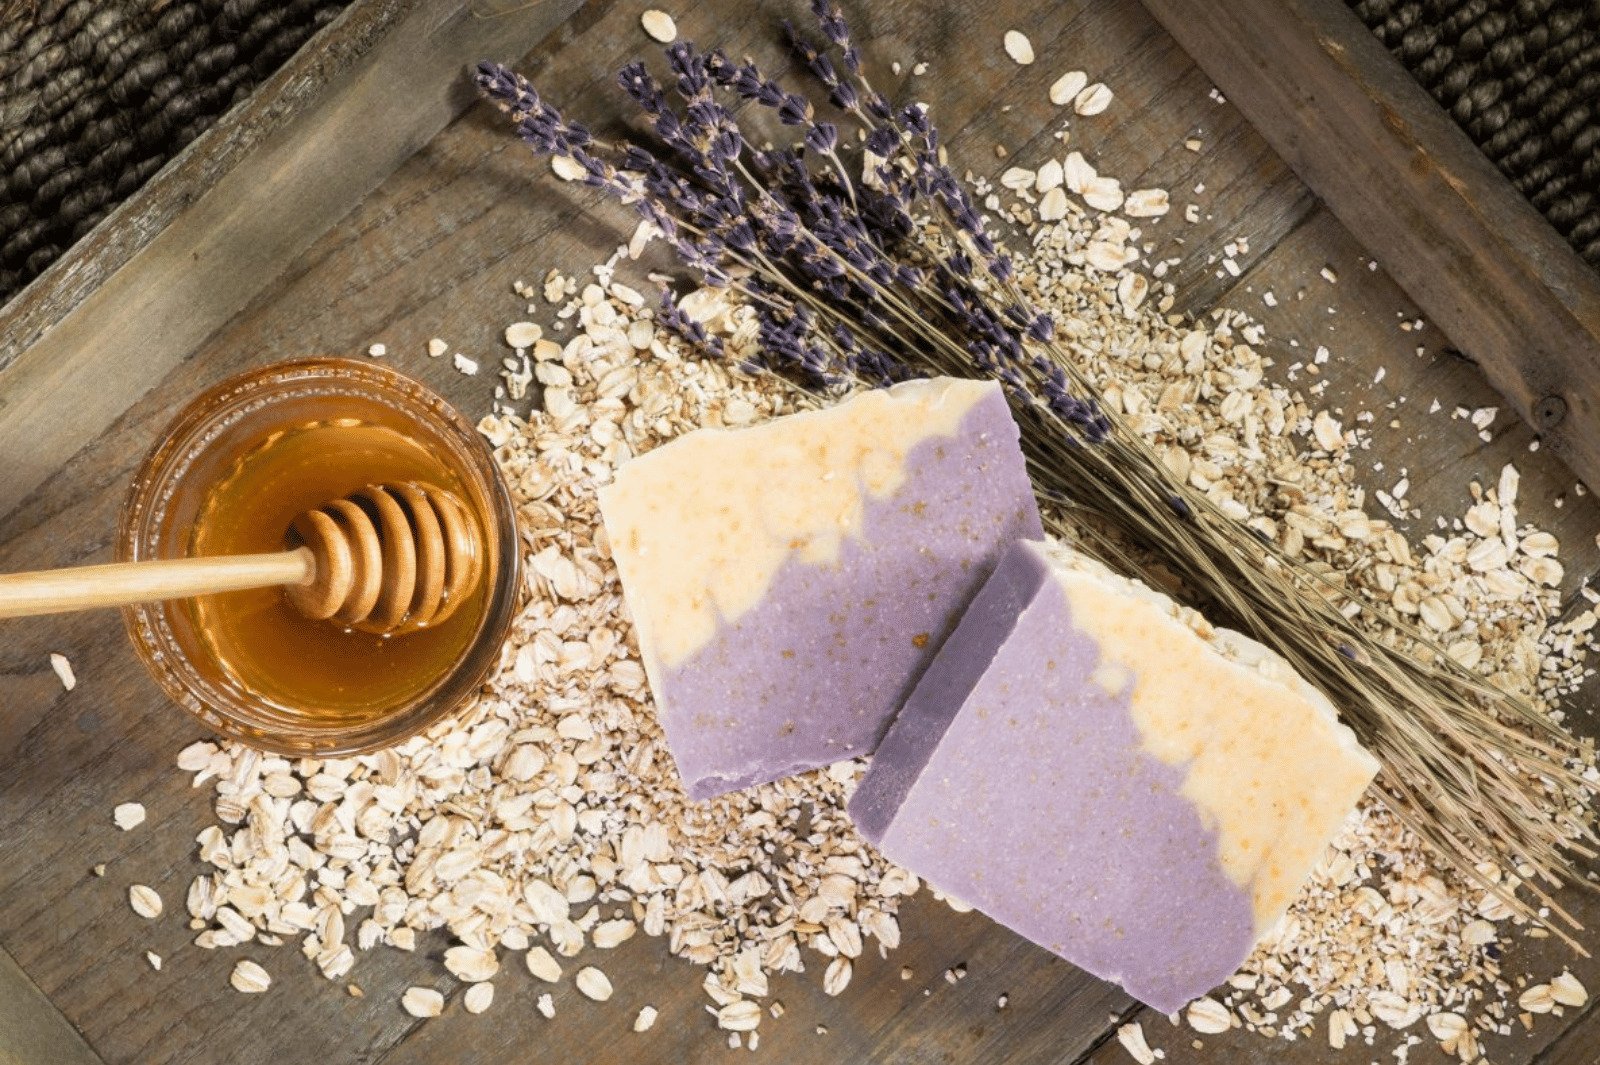
6. Oatmeal Honey Soap Recipe
- 450 grams of olive oil
- 225 grams of coconut oil
- 225 grams shea butter
- 85 grams lye
- 225 ml water
- 2 tablespoons colloidal oatmeal
- 2 tablespoons honey
his recipe creates a soothing and moisturizing bar of soap that is perfect for dry or sensitive skin. Mix the lye and water together, then melt the olive oil, coconut oil, and shea butter. Once the oils have cooled slightly, add the lye mixture, colloidal oatmeal, and honey. Pour the mixture into a mold and let it cure for 4-6 weeks.
5 Tips for Making Soap
So pay close attention here
Soap-making can be a fun and rewarding hobby, but it’s essential to take the proper precautions to ensure your safety and the success of your soap batches. Here are some tips to keep in mind as a beginner soap maker:

1. Safety Precautions
Working with lye can be dangerous if not handled properly, so taking the necessary precautions to protect yourself is crucial. Always wear protective gloves and goggles to avoid skin or eye contact with lye. Additionally, work in a well-ventilated area to avoid inhaling fumes, and have a bottle of vinegar on hand to neutralize any spills or splashes of lye. Remember that lye should always be added to water, not the other way around, to prevent any dangerous reactions.

2. Measuring Ingredients Accurately
Soap-making is a precise science, and accurate measurements are crucial to the success of your soap batches. Slight variations in the amount of lye or oils used can significantly affect the outcome of your soap, so it’s essential to be precise. Use a digital scale to measure your ingredients accurately, and double-check your calculations before mixing.
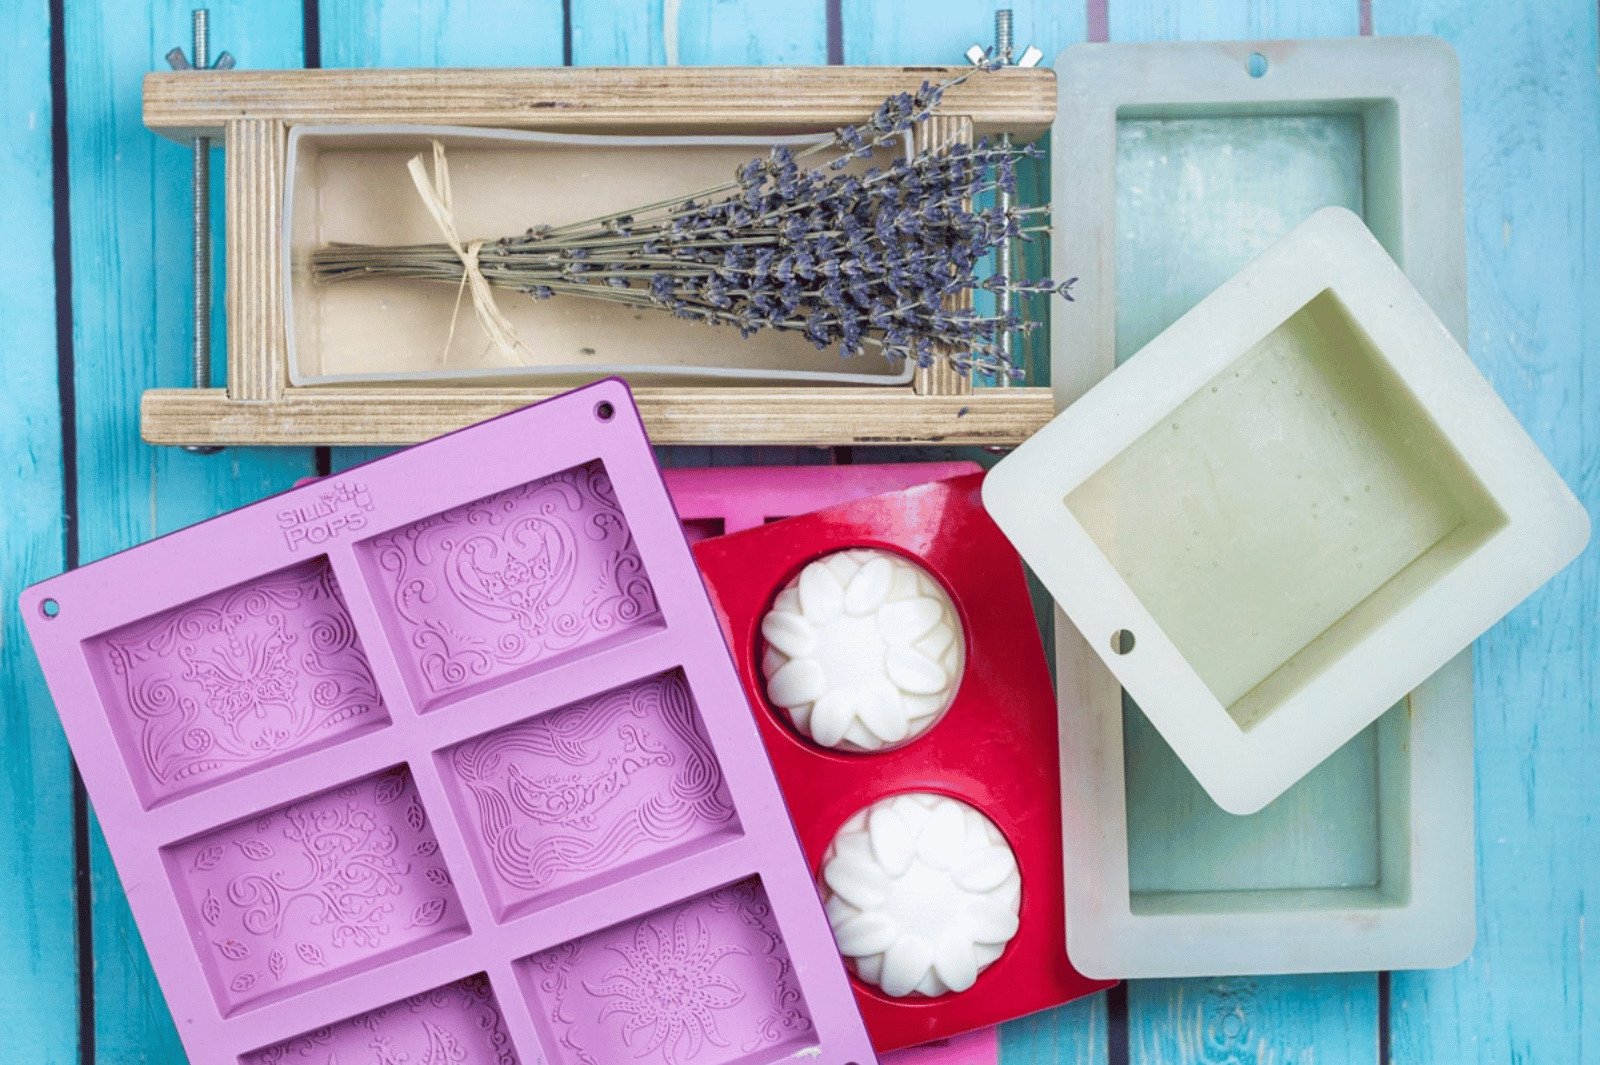
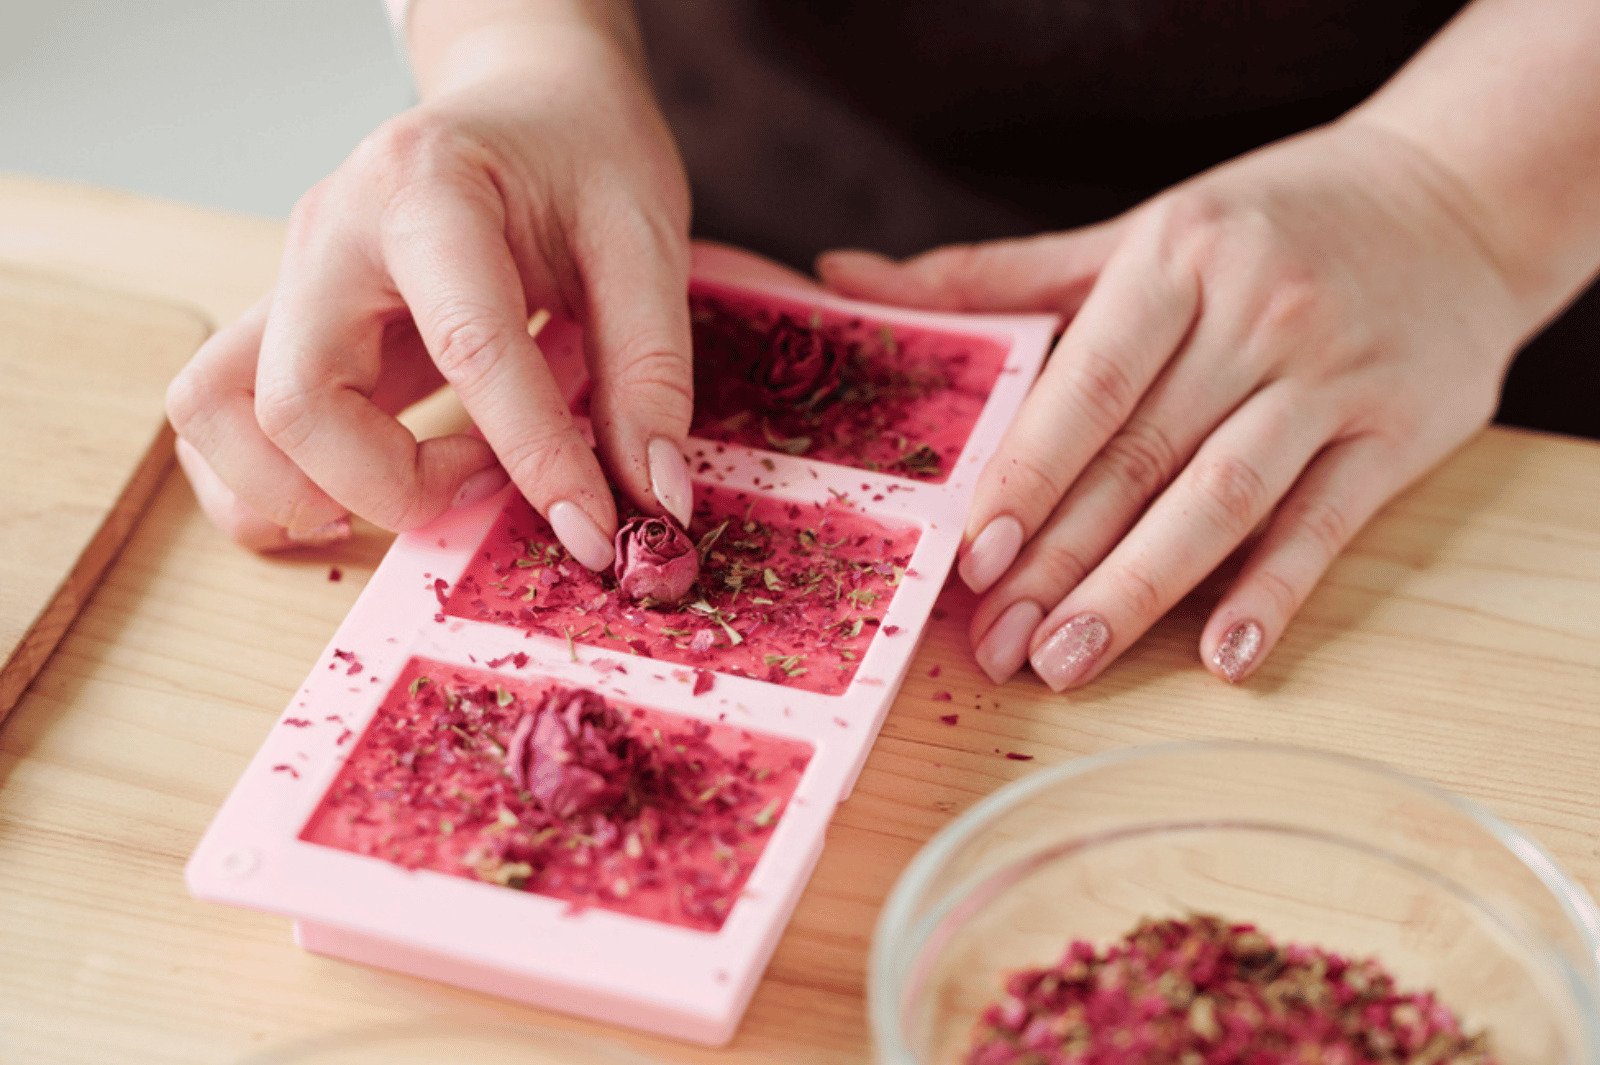
3. Choosing the Right Mold
Choosing the suitable mold is an essential part of soap-making, as it can affect the size and shape of your soap bars. Silicone molds are popular among beginners, as they’re easy to use and clean. However, you can also use wooden molds, plastic molds, or even repurpose household items like cardboard boxes or muffin tins. Just make sure the mold is suitable for use with lye.

4. Curing and Storing Soap
Once your soap has been cut into bars, it must cure for 4-6 weeks to allow excess water to evaporate and the soap to harden. During this time, storing your soap in a cool, dry place, away from direct sunlight and moisture, is essential. You can use a drying rack or shelf to allow air circulation around the bars, and be sure to label your soaps with the date they were made and the recipe used. This will allow you to track your progress and adjust for future batches.
5. Checking for Proper Saponification
Before using your soap, it’s essential to ensure it has appropriately saponified, meaning that all of the lye has reacted with the oils to create soap. You can perform a “zap test” by touching your tongue to a small piece of soap to check for proper saponification. If you feel a zap or a tingling sensation, the soap is not yet fully saponified and needs more time to cure. If the soap has no zap or tingling sensation, it’s safe.
While the zap test is a popular and quick method to test soap, it’s only sometimes reliable and can sometimes give false negatives or positives. Therefore, it’s essential to supplement it with other ways, such as pH testing and hardness testing. These methods can help you determine if your soap is safe, properly cured, and good quality.
By following these tips and taking the necessary precautions, you can create beautiful, all-natural soaps that are both luxurious and good for your skin. Remember to take your time and patience, as soap-making can be a learning process. But with practice and experimentation, you’ll soon be making soap like a pro.

Final Thoughts
Best get started with it
Soap making can be more than just a hobby; it can also be a therapeutic and meditative activity that promotes mental wellness. Creating something with your hands can be incredibly satisfying, and the aromas and textures of the soap ingredients can have a calming effect on the mind.
Many options are available when choosing a soap recipe, from the essential olive oil soap to the more complex charcoal and oatmeal honey recipes. Feel free to experiment with different recipes to find what works best.
Lastly, remember to be patient when making soap, as creating a quality product takes time and effort. But with some practice and persistence, you can become a pro at soap making and enjoy the benefits of using your handmade soap for yourself and your loved ones.


Subscribe to new post
The One Liner
Useful Links
Order Related Queries
Useful Links
Order Related Queries
Trusted By |